

Setup
Install the Baseten CLI and sign in, then install the client library for the tab you’ll use:requests for the Python tab, or the OpenAI SDK for the OpenAI tab.
Install and sign in to BasetenFor other platforms or a specific version, see the Baseten CLI install reference.
- macOS or Linux
- Windows
Terminal
Install requests
Install the OpenAI SDK
Hardware
Engine
Write the config
Create and move into the project directory:config.yaml and paste the following:
config.yaml
/v1/images/generations that returns base64-encoded images.
Deploy
Push the config to Baseten with the Baseten CLI, or with the Truss CLI if you prefer it:baseten model push prints your model ID (abc1d2ef in the example). The examples below use it wherever you see {model_id}, and read your API key from the BASETEN_API_KEY environment variable.
Call the model
Use the/v1/images/generations endpoint to generate your model’s images.
The deployment returns the generated image as base64-encoded bytes. Decode the response to write the image to disk. The size parameter sets the output resolution in pixels.
- Python
- OpenAI
- cURL
main.py
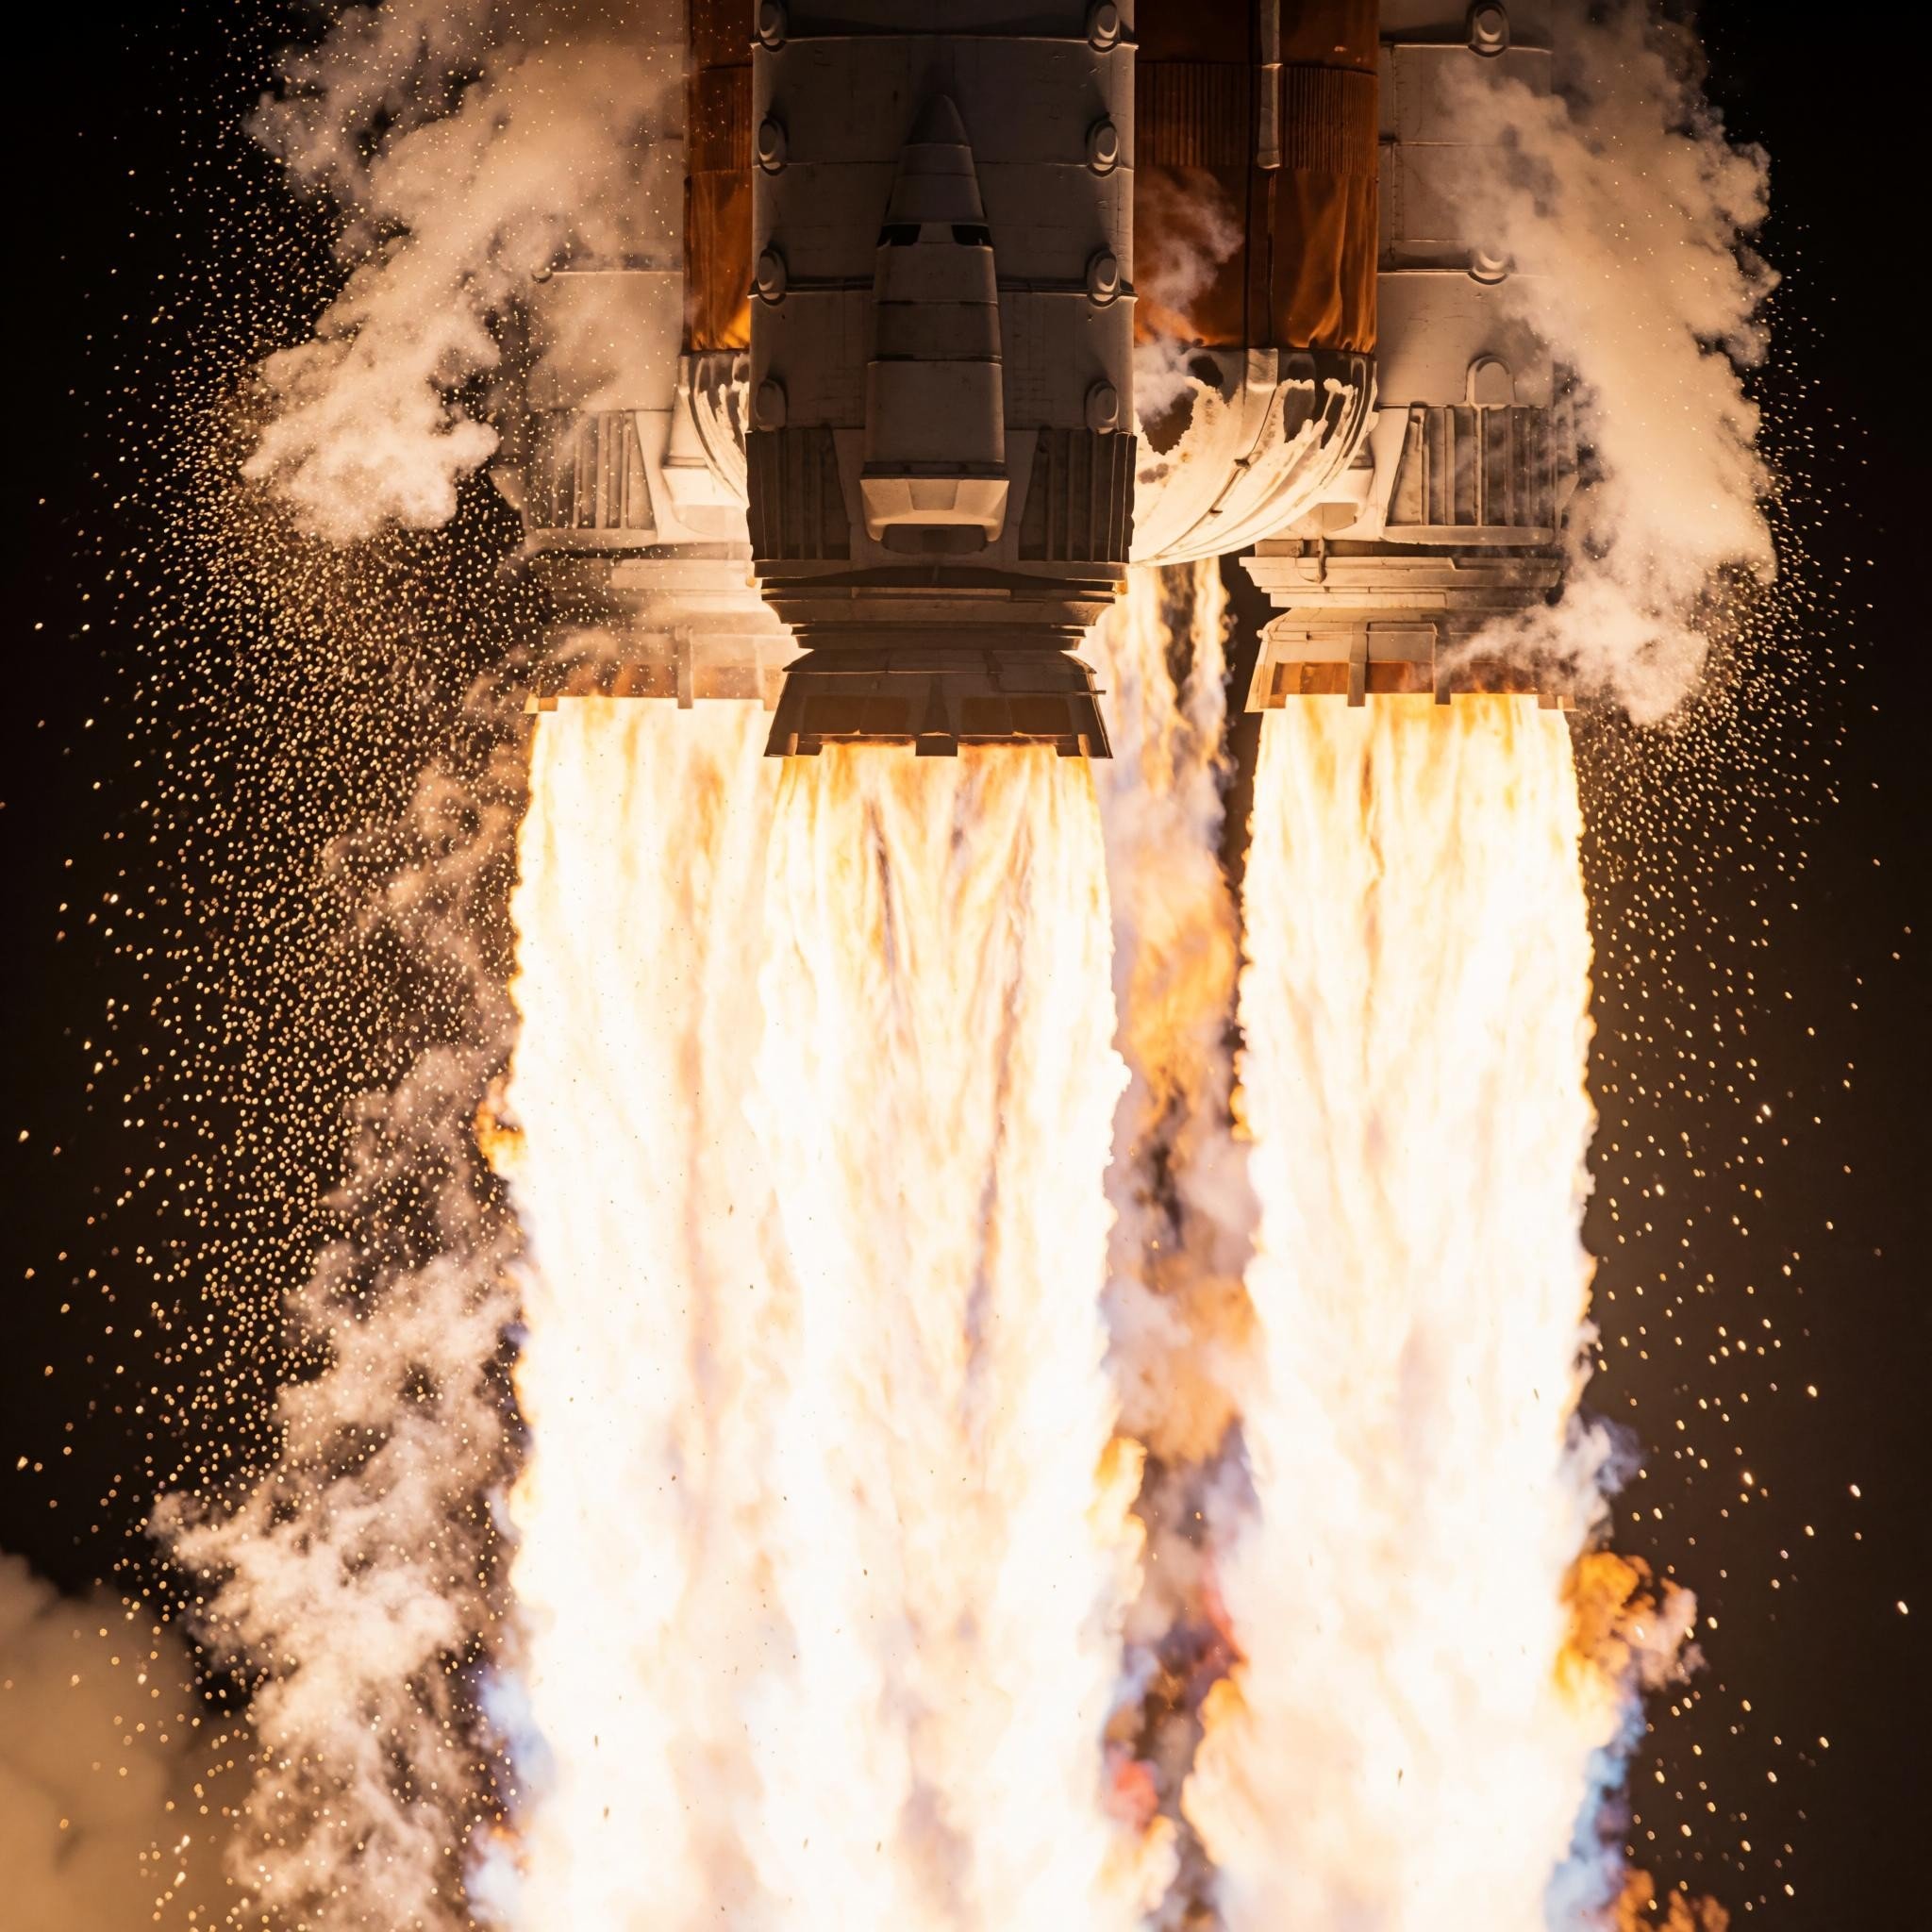
Generated by this deployment from the rocket prompt above at 2048x2048, in 8.5 seconds on an H100